
Today’s post and FREE pattern is going to be a fun late summer shawl to keep you warm as the evenings start to cool off. I’m looking forward to taking mine camping to wear sitting around the campfire, roasting marshmallows with my girls. There are nights that are already feeling like we’ve past the height of summer heat. That is why I’m calling this one the Fireside Shawl.
We are going to use several techniques we used in previous posts, like our lifted increase, decreases, and we will be knitting in stockinette, with a sweet garter edge. So it’s important you know how to do those stitches before we start. They’re not complicated and can be used for so many things once you get the hang of them.
A couple of notes, before we begin:
- I used 3 stitches for my garter edge, but its a little small and rolls a little, I suggest using 5 stitches.
- It needs to be blocked at the end. You need to wet your shawl, damp is fine, and then stretch the corners. Place something heavy on top or pin it in place while it dries. This will help it stay in the proper shape.
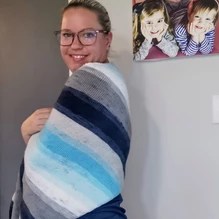
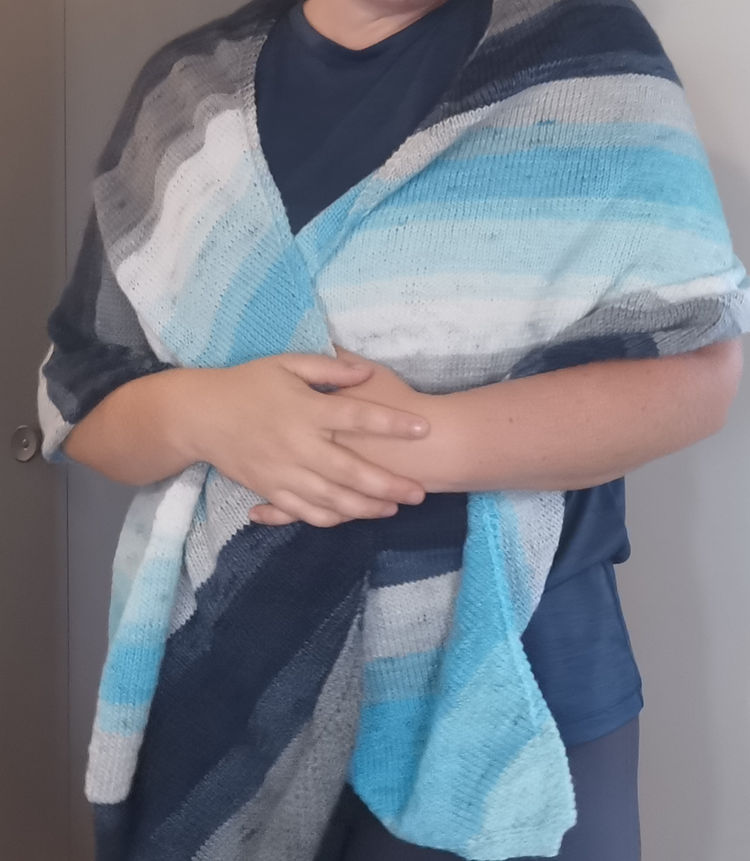
I’ve already come up with several ways to wear this fun shawl, including as a scarf. Check it out below!
So much fun!
Alright so we’re going to work this one in 3 easy sections. Section 1, our increases, to create our diagonal, section 2, the body, creating the length of our shawl, and then section 3, our decreases, to finish it off as a rectangle.
Fireside Shawl
Materials: 2 Balls of Caron Skinny Cakes in Pop Rock & 4.5mm (30″ long) Round Needle and 1 stitch marker.
Stitches used: Knit, purl, knit 2 together, Right Lifted Increase (RLI) and Left Lifted Increase (LLI). Cast on and Cast off. Finally we used, SSPK, from this tutorial, to get the nice flat decreases.
Download the Ad FREE PDF Here Shop
Instructions:
Section 1: Increases
Cast on 4 stitches.
Row 1: purl each stitch.
Row 2: Knit 1, RLI, LLI, Knit 1. (6 stitches)
Row 3: Knit each stitch.
Row 4: Knit 2, RLI, LLI, Knit 2. (8 stitches)
Row 5: Knit
Row 6: Knit 3, RLI, LLI, Knit 3. (10 stitches)
Row 7: Knit
Row 8: Knit 4, RLI, LLI, Knit 4. (12 stitches)
Row 9: Knit 5, purl 2, place a marker here, knit 5.
Now we begin our repeats for this section:
Row 10: Knit 5, RLI, knit until you have 6 stitches left, LLI, Knit 5.
Row 11: Knit 5, purl to your marker, knit 5.
Repeat Rows 10 & 11, until you reach your desired width. Mine in about 20″ wide, from cast on, along the edge. Then begin Section 2.
Section 2: Body (stitch count will stay the same throughout this section)

To begin the body, we are going to turn and work straight, but work on the bias (on the diagonal), we’re going to increase at the beginning of the row, and decrease at the end of the right side.
Row 1: knit 5, RLI, knit to 7 stitches left, k2tog, knit 5.
Row 2: Knit 5, purl to your marker, knit 5.
Repeat until your straight edge is to your desired length. Mine is about 70″ long.
When you get to your desired length, begin Section 3.
Section 3: Decreases
Row 1: Knit 5, slip next st knitwise, slip next one purlwise, then insert left needle into the front of both loops and knit them both together, (SSPK); knit across until you have 7 stitches left, k2tog, knit 5.
Continue wrong side row: knit 5, purl to your marker, knit 5.
Repeat Row 1, and wrong side row, until you have 12 stitches left.
Finishing: Row 1:Knit 5, k2tog, knit 5.
Row 2: Knit across.
Row 3: Knit 4, k2tog, knit to end.
Row 4: knit across
Row 5: knit 3, k2tog, knit to end.
Row 6: knit across.
Cast off and weave in end. Block as needed. Put on your new shawl and take some pics! Tag us on Instagram and we’ll share them to our stories!
Video Tutorial:
I can’t wait to see the beautiful things you make with this Fireside shawl pattern!
Don’t forget to check out the AD Free PDF in our shop.
See you next time.


